Utilizing Adobe Scan to Electronically Submit Paperwork
Scan exhibits, reporter bills, and order forms from your smartphone.
The free Adobe Scan Mobile App provides a quick and seamless way of scanning your hard-copy paperwork into electronic format for email or turn-in to our portal.
Where To Download
How to Use Adobe Scan
Step 1. Download the App (using the links above) and launch the app. If necessary, allow the app permission to access your Camera.
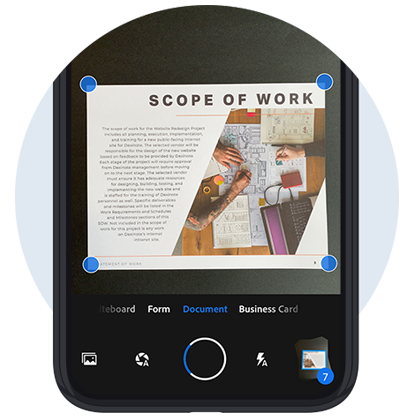
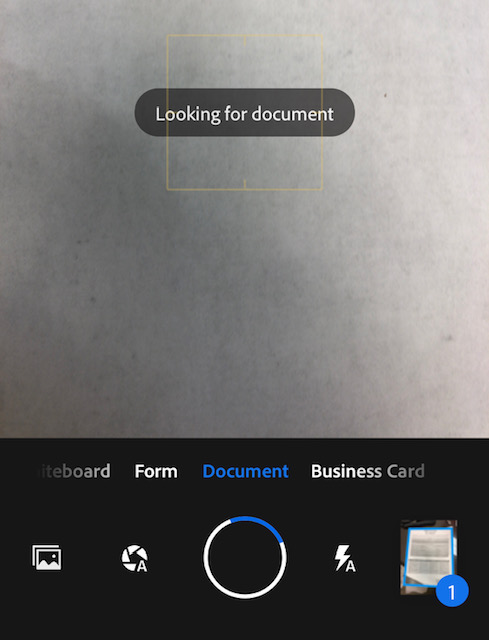
Step 2. Place the document in focus of the camera. It will attempt to automatically detect the boundaries of the document you are scanning. Hold your phone steady until the app snaps a picture.
Step 3. The app will show you a picture of the document with the boundaries it detects. If necessary, adjust the boundaries to form a rectangle around the document. Hit Continue once finished.
Step 4. If more pages need to be added, repeat the steps above to snap pictures of subsequent pages.
Step 5. Once all pages have been scanned, the numbered icon in the lower left hand corner will show the total number of pages attached to this scan. Click the icon to continue.
Step 6. The subsequent page will show your document with all its scanned pages. If needed, you can crop, rotate, and delete pages as needed. You can also rename the document by clicking the Pencil at the top (the date scanned will be the default title). Once finished, hit Save PDF. Your document will now show up in the library.
To Email the Document: Click the Share button and click Email to send with your default mail app. To email it with a different email client (such as Gmail or Outlook), hit Share, then click Share a Copy, and select your program of choice.
This is useful if you want to either email the documents to us directly or email to your computer to attach when checking in or turning in your transcript.
Uploading Adobe Scan Documents to the Portal
If needed, Adobe Scan can be used to upload exhibits, order forms, reporter bills, or any other paper documents when checking in after an assignment directly from your smartphone.
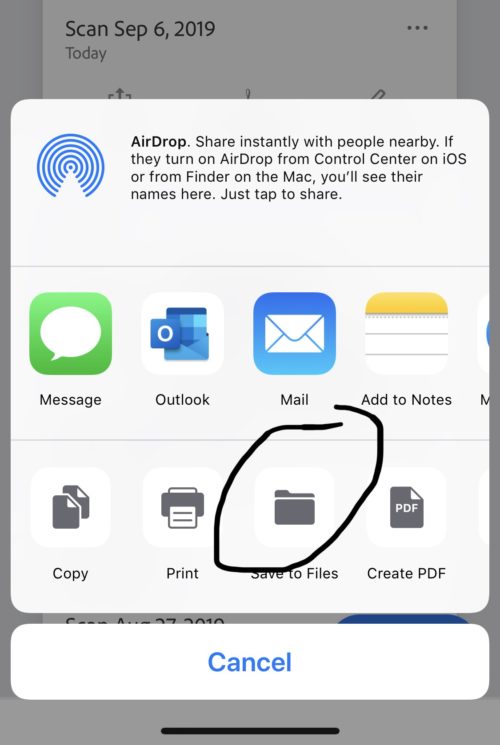
Step 1. In Adobe Scan, click the Share button next to your document, then click Save as Copy.
Step 2. (For iPhone/iPads) On the bottom row use the option Save to Files. Choose where to save the document (either to the iCloud Drive or On My iPhone). Pick a suitable location to save the document (this does not matter for submitting to the portal, only for organizing your own files).
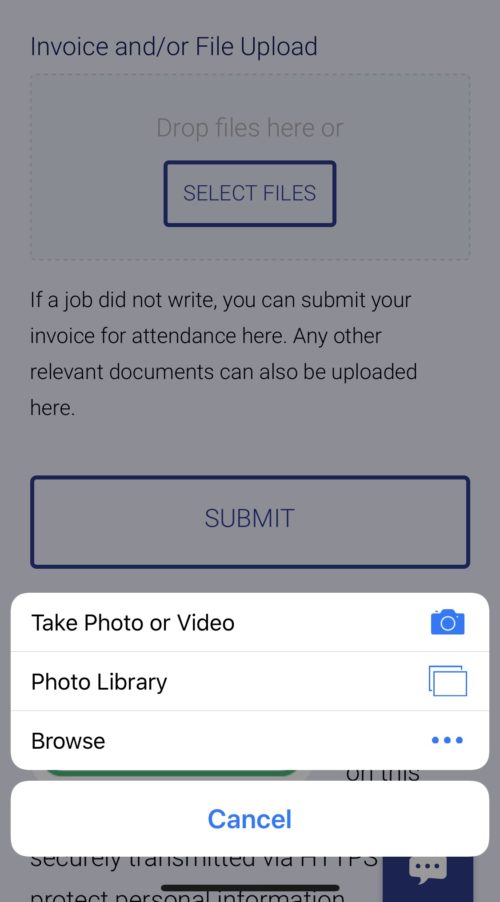
Step 3. When checking in via the portal from your smartphone, go to the File Upload section. Click Select Files, and when prompted hit Browse.
Step 4. The scan you just saved to either your iCloud Drive or your iPhone should show up under Recents as the first document available to select. If it did not, go to Browse and navigate to the folder you saved the scan.
Step 5. The scan will upload and send to us once you submit the form.
Alternatively, you can simply email the documents directly to us, or you can send to your computer to attach. The latter option is useful if turning in your transcript as you can send the documents alongside the transcript.
For any questions, please contact us at (847)-236-0773) or email us at lakecook@spreporting.com for any questions, comments, or concerns.
